One of the main reasons the original version of the camper was limited to 7ft in length was to keep the weight of the lifting top down. The original top was conventional wood frame and plywood construction and weights around 50lbs the new top is constructed out of 1.5" blue builders foam covered with 2 layers of 6oz fibreglass cloth and epoxy resin, three laminated wooden beams are set in the top to take the hinges and re enforce the hatch area, it weights slightly less than the original.
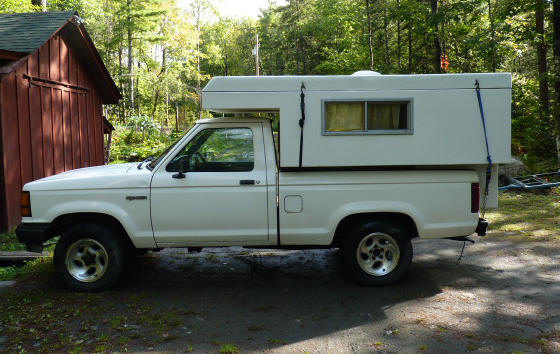
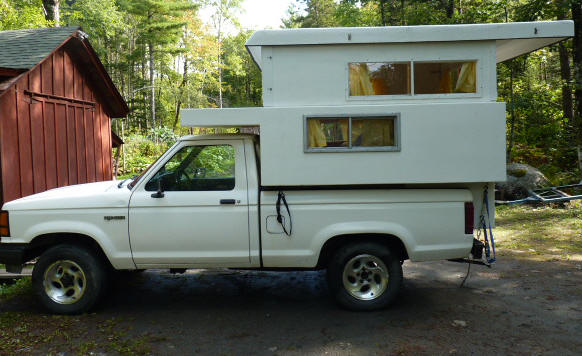
Top down note the straps necessary to keep the top down when travelling.
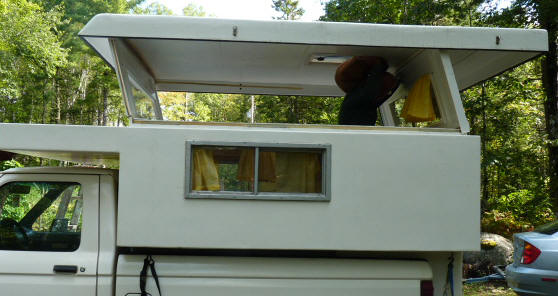
Starting to lift the top
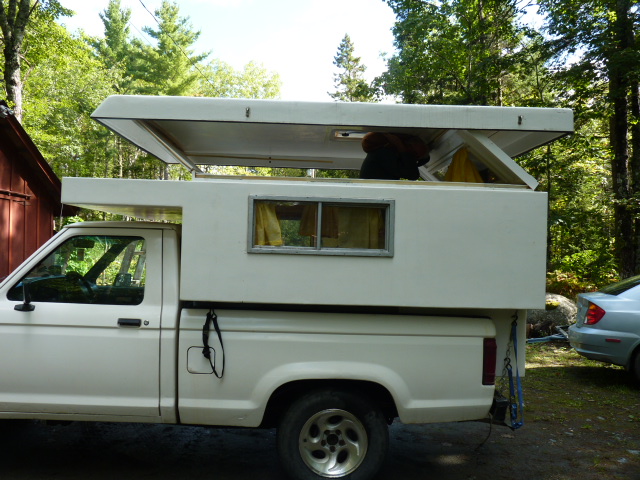
Top up, lifting it this way only takes a few a second, I have built a mechanical lift mechanism for the old top but prefer to lift the top directly. A guest to the site suggested using a device known as a 3rd Hand which sounds like a good idea you may have to hunt around for one in the right size range or modify at exsisting one
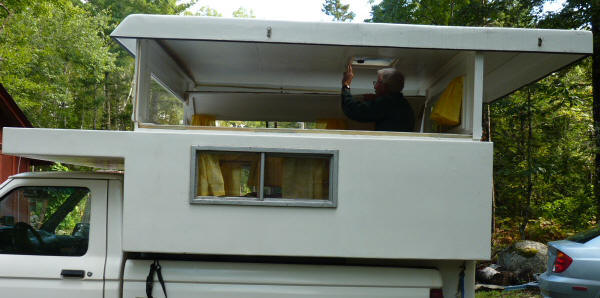
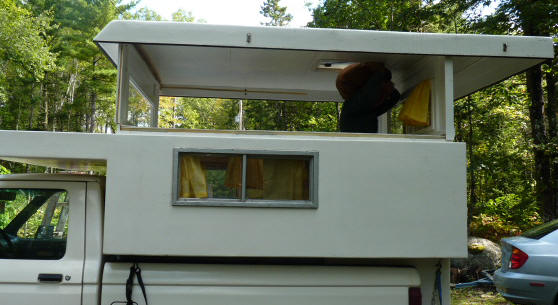
Flipping up the side pieces to lock everything in place
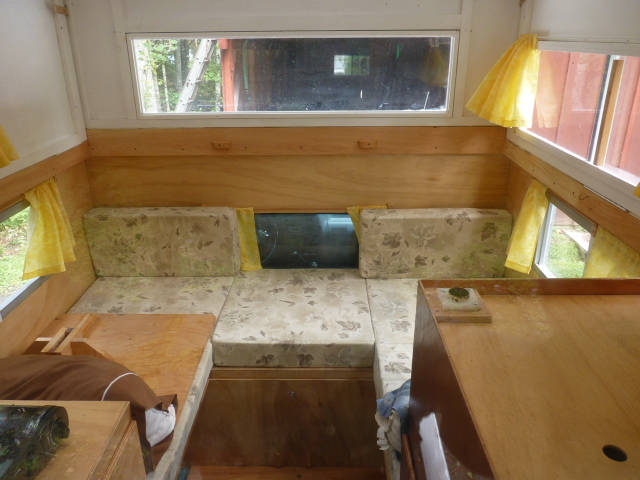
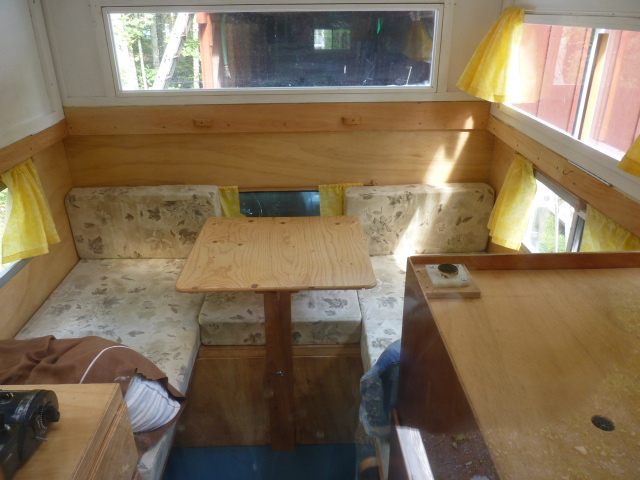
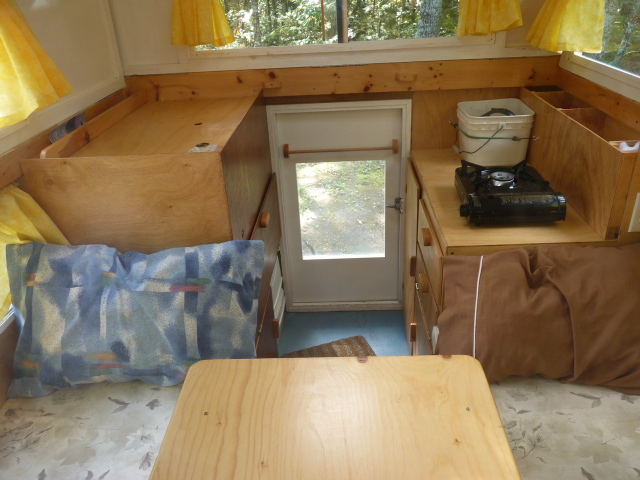
Interior viewed through the rear window
More Pictures can be found here , these were taken whilst I was in the process of stripping the paint off as part of the renovation and expansion project, sorry for the mess.
Due to problems with the plywood used on the original camper I decided to rip out any bad plywood and cover the complete camper with 6oz fibreglass and epoxy resin
There is a lot of room for storage in the kitchen area and under the cupboards on the left. The entrance door is about 40" high a step slides out from the truck to assist entry.
The plans are the work of Andrew a frequent poster who was very generous with his time at the links below, be has stopped posting for a number of years and attempts to contact him have been unsuccessful he is sadly thought to be deceased. Thankyou Andrew
The critical part is the lifting top, the concept is actually very simple but attention to detail is critical I would recommend making up a working model of this part of the project as an aid to getting comfortable with the details.
A few Tips. Installing the hinges for the top is one of the most critical parts of the project, If building a plywood and wood frame top this is fairly straight forward IF the plywood skin is left off so that the beams to which the hinges are attached can be set in there final position with the end pieces and hinges all attached in the down position.
With the foam top it is somewhat difficult, first before the top is made you are going to have to calculate where the hinges should go, this will depend on the height of the side pieces you use. I then install 1.5" wood beams into the foam top (3" would have been better) to attach the hinges to, the is probably a better way of doing this but the point is that there has to be something strong to attach the hinges. I was using 1.5" foam so I laminated a beam out of two 3/4" pieces of wood shaped so that the foam would slot into the beam.
With the top down it is fairly easy to attach the rear end piece and hinge from the inside, it's also possible to do the front in a similar manor providing the plywood skin has been temporally left of the part of the camper that extends over the cab of the truck.
Weather Stripping If the over laps at the joints are correct the camper should be waterproof from vertical rainfall but is unlikely to be wind proof or bug proof. I used four different types of weather stripping to seal the gaps 1) a very soft foam weather stripping for use inside the hinges of the sides 2) a medium density foam weather stripping for most of the other surfaces 3) 1/2" carpet underlay foam cut into strips and stuck in place with contact cement as a cheap alternative to 2), 4) Off cuts from a 3" foam mattress cut into approx 1" strips for the really big gap around the top of the side pieces.
Links
Teardrops and other trailer plans The Compact design and Pop Top Camper plans contain lifting top ideas. This site used to run by Andrew and is no longer online the link takes you to the internet way back time machine where a copy can be found.
Teardrops and Tiny Travel Trailers Forum Lots of friendly advice and ideas about building trailers and campers, The Non Traditional Designs section contains a few threads about constructing lifting tops
To reduce spam I use a third party service to forward mail. Please include a working email address if you would like a reply.